

The exam, the image and the report in one place.
EndoCapture takes the exam images and video from the camera or video processor, files them by patient and sends them to the hospital PACS. The report is written, signed and delivered from the same program.
- For endoscopy and video colposcopy
- Desktop program for Windows
- DICOM, HL7 v2 and FHIR R4
A whole exam, step by step.
The eight steps of the physicians’ guide, in the order they happen.
- 01
Sign in
Each person signs in with their own user and password. What they see and can do depends on the permissions of their profile.
DetailEach profile sees only the buttons of its role.
Demonstration data
- 02
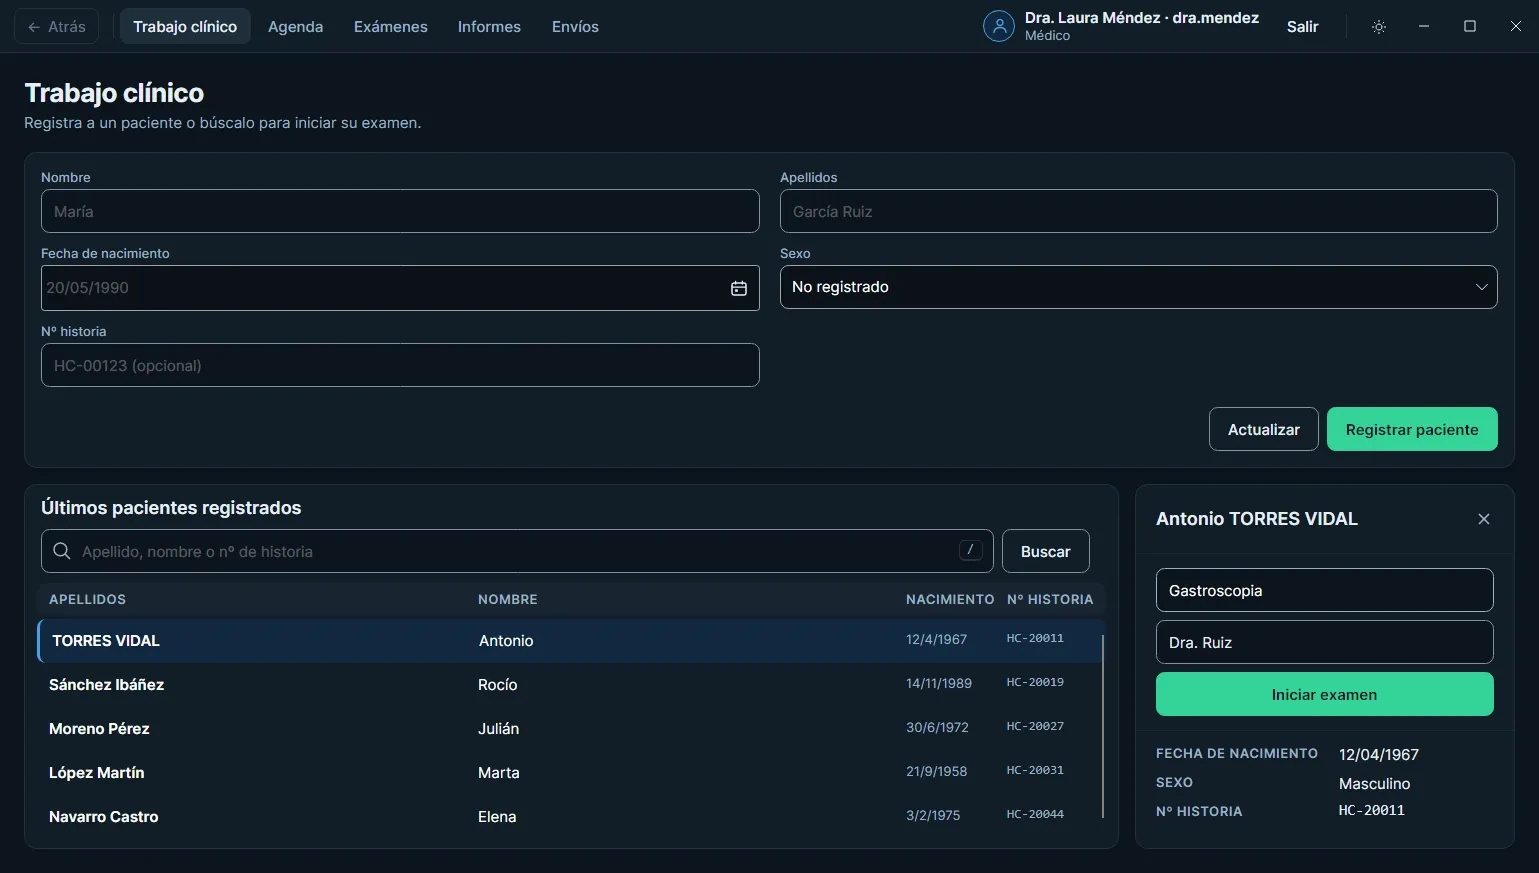
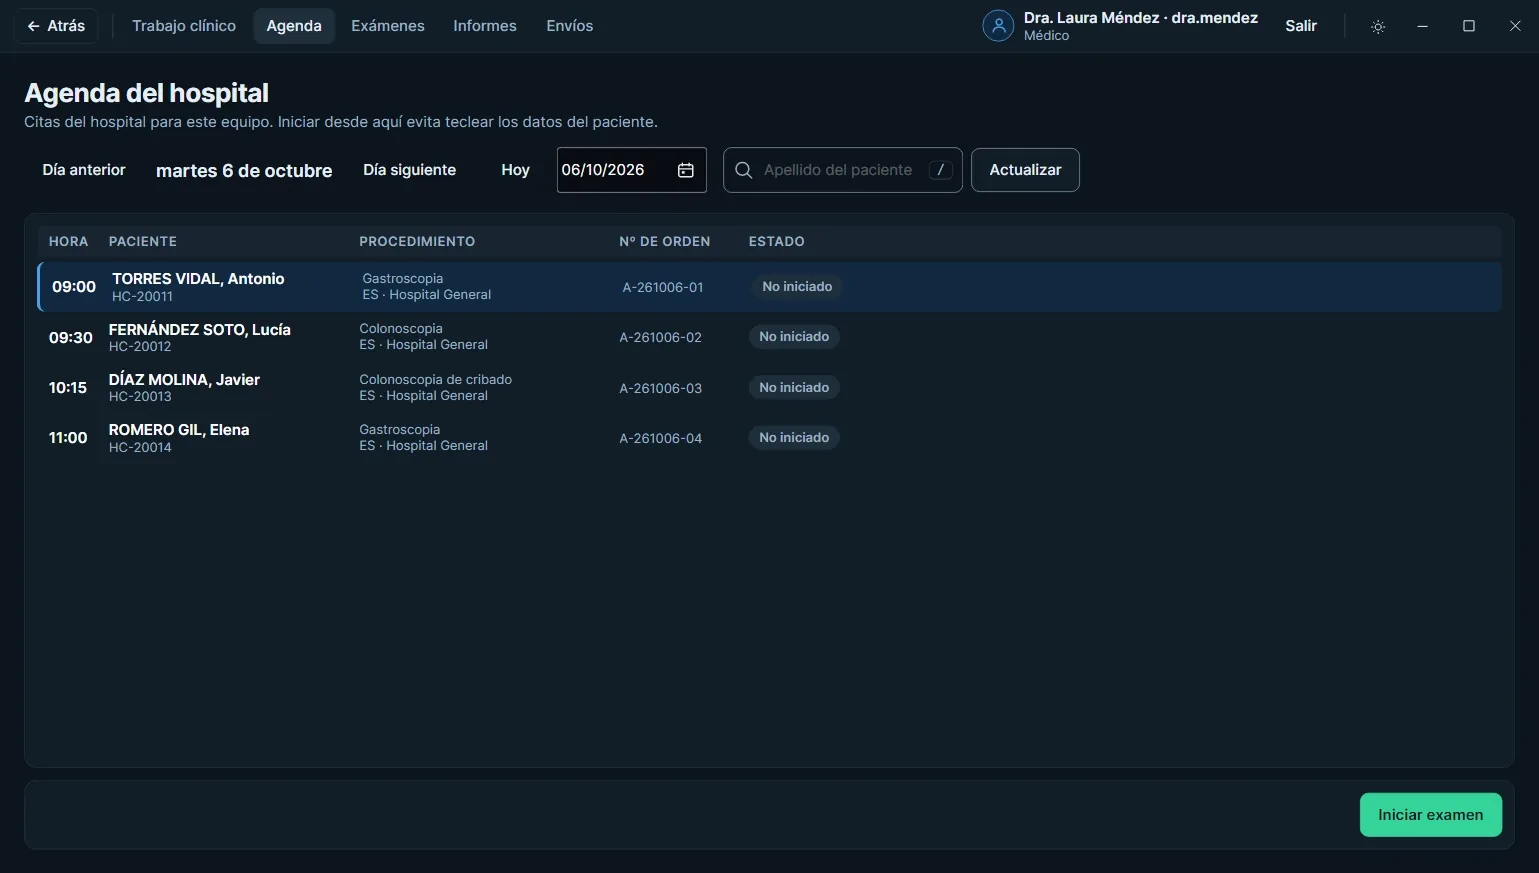
Choose the patient
Search by last name (accents do not get in the way) or register a new patient. If the hospital already booked the exam, pick it from the schedule.
DetailSearch has a shortcut: the forward slash key (/).
Demonstration data
- 03
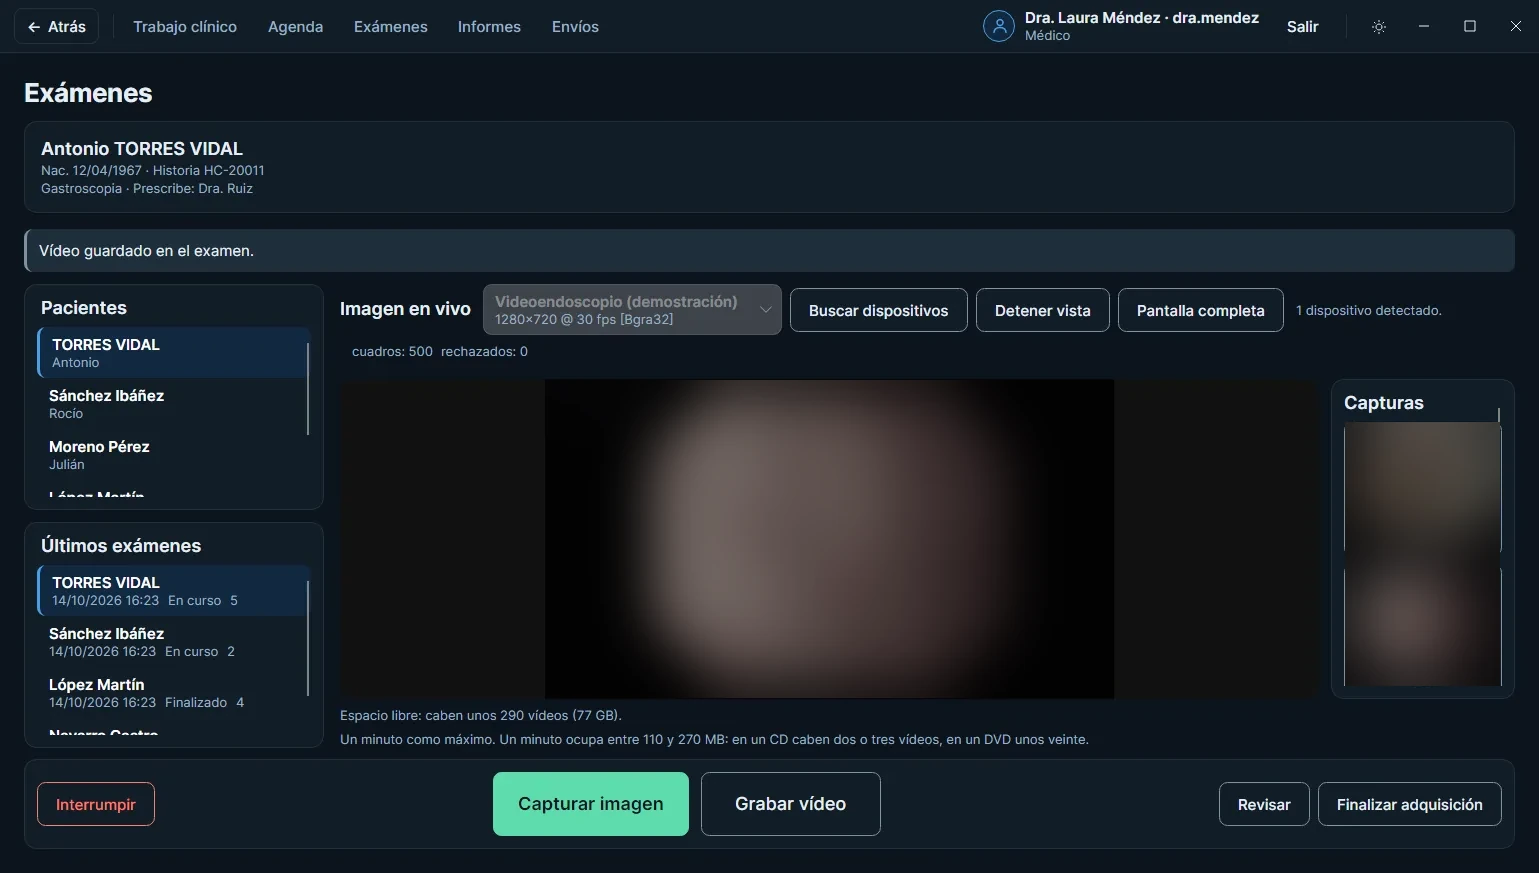
Capture
Live photo and video from the camera. The foot pedal does what the button does, and full screen leaves only the image.
DetailThe pedal has two switches, over USB or a 3.5 mm jack.
Demonstration data
- 04
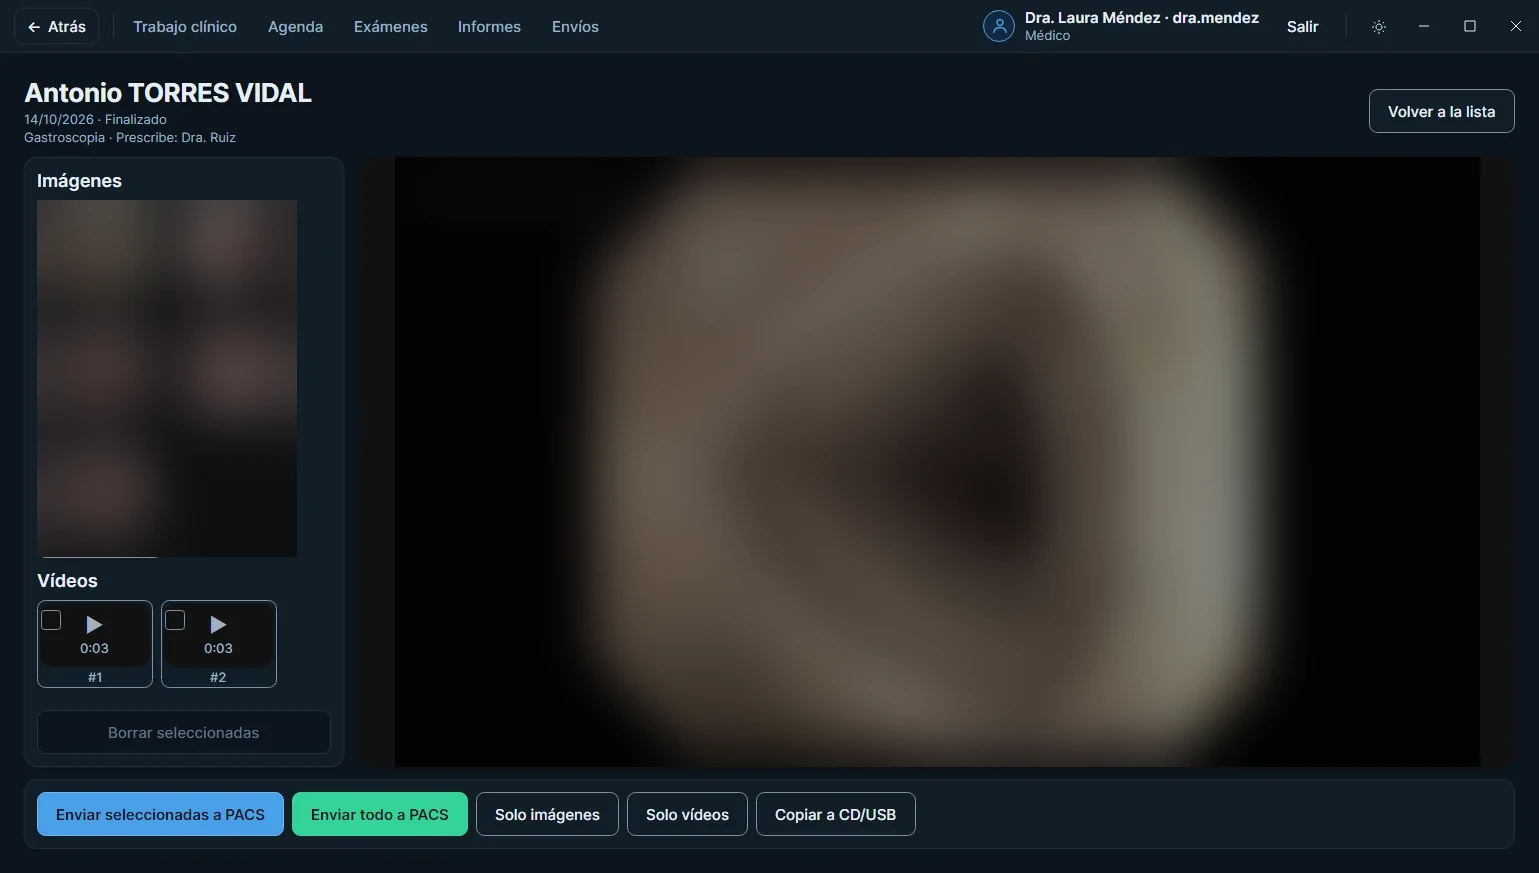
Review
Look through the shots and delete what went wrong. The program asks before deleting. Then the acquisition is closed.
DetailFrom the review you can go back to the live image.
Demonstration data
- 05
Send to the PACS
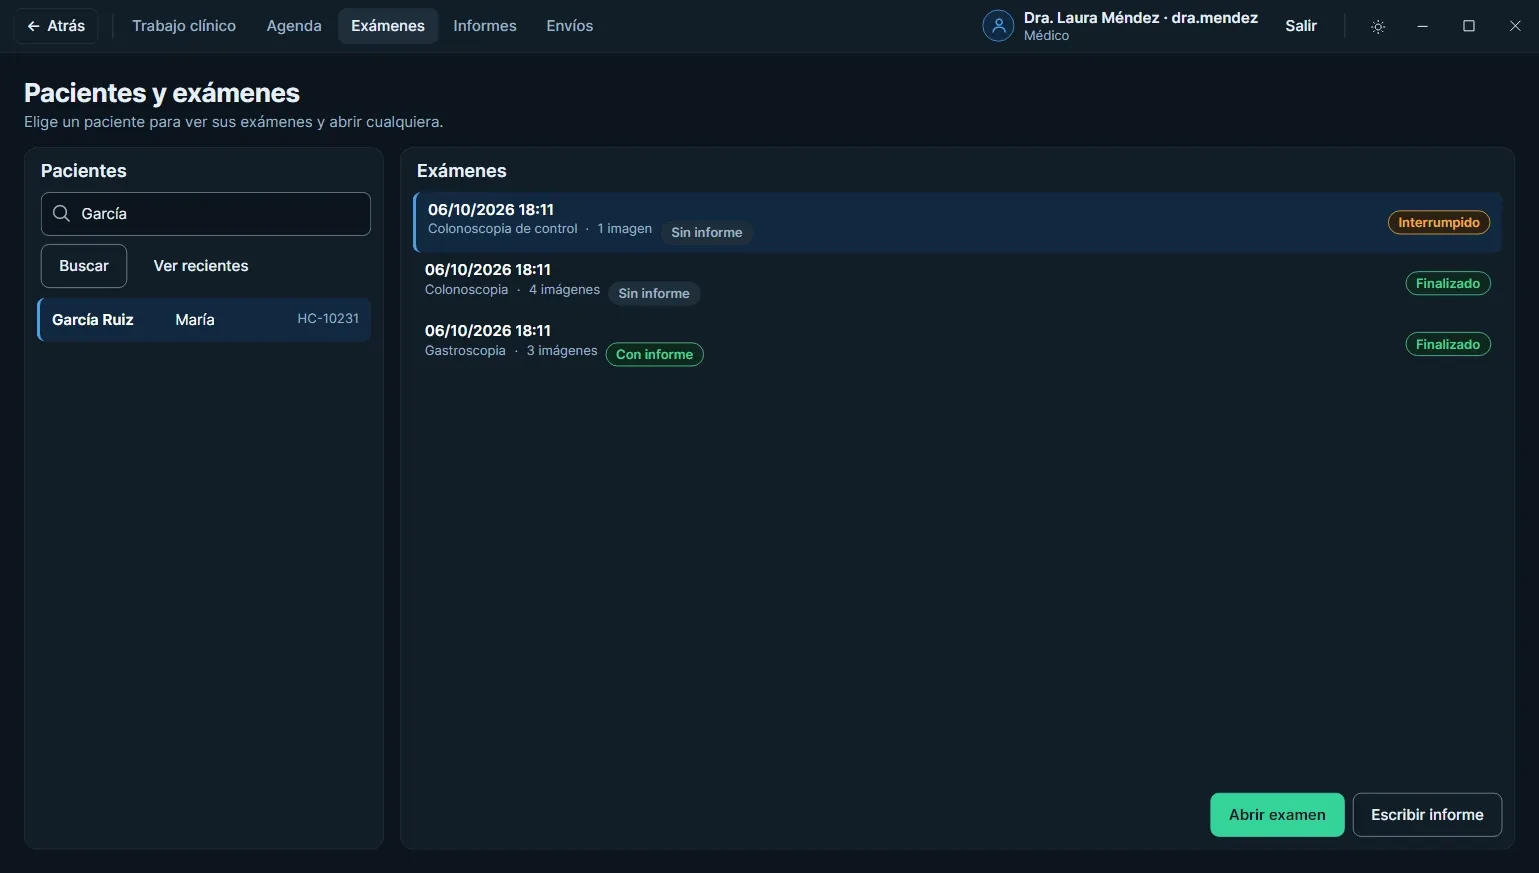
The whole exam, or only what is selected, goes to the hospital image archive. For the patient, a copy can be saved to CD or USB.
DetailSend the whole exam, only the images or only the videos.
Demonstration data
- 06
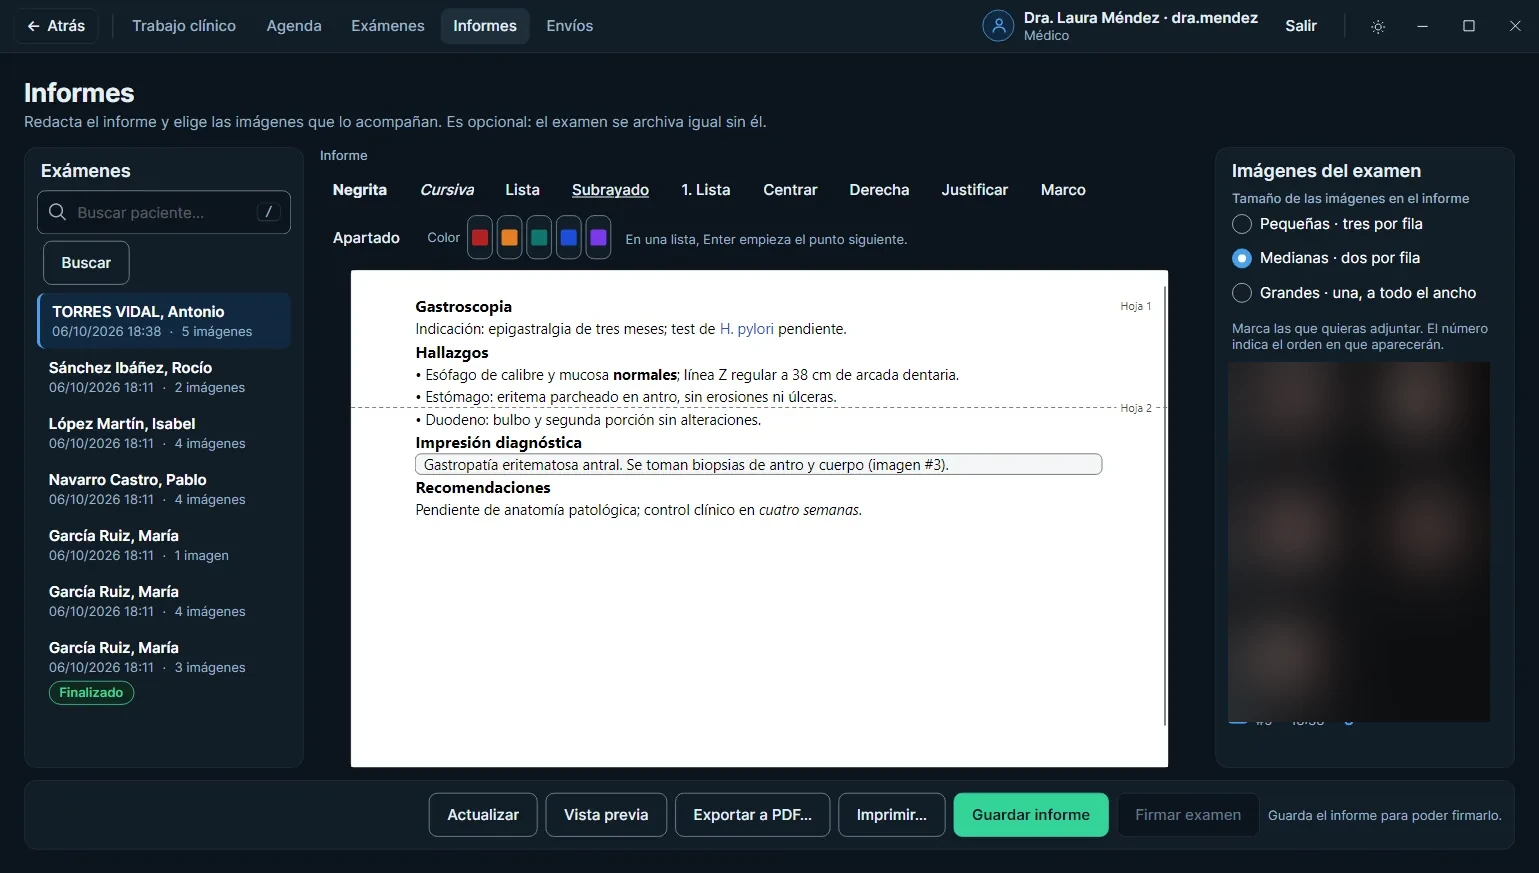
Write the report
A Letter-size sheet with a formatting editor that marks where each printed page begins. The preview is what will come out on paper, with letterhead, logo and signature.
DetailImages go into the report small, medium or large.
Demonstration data
- 07
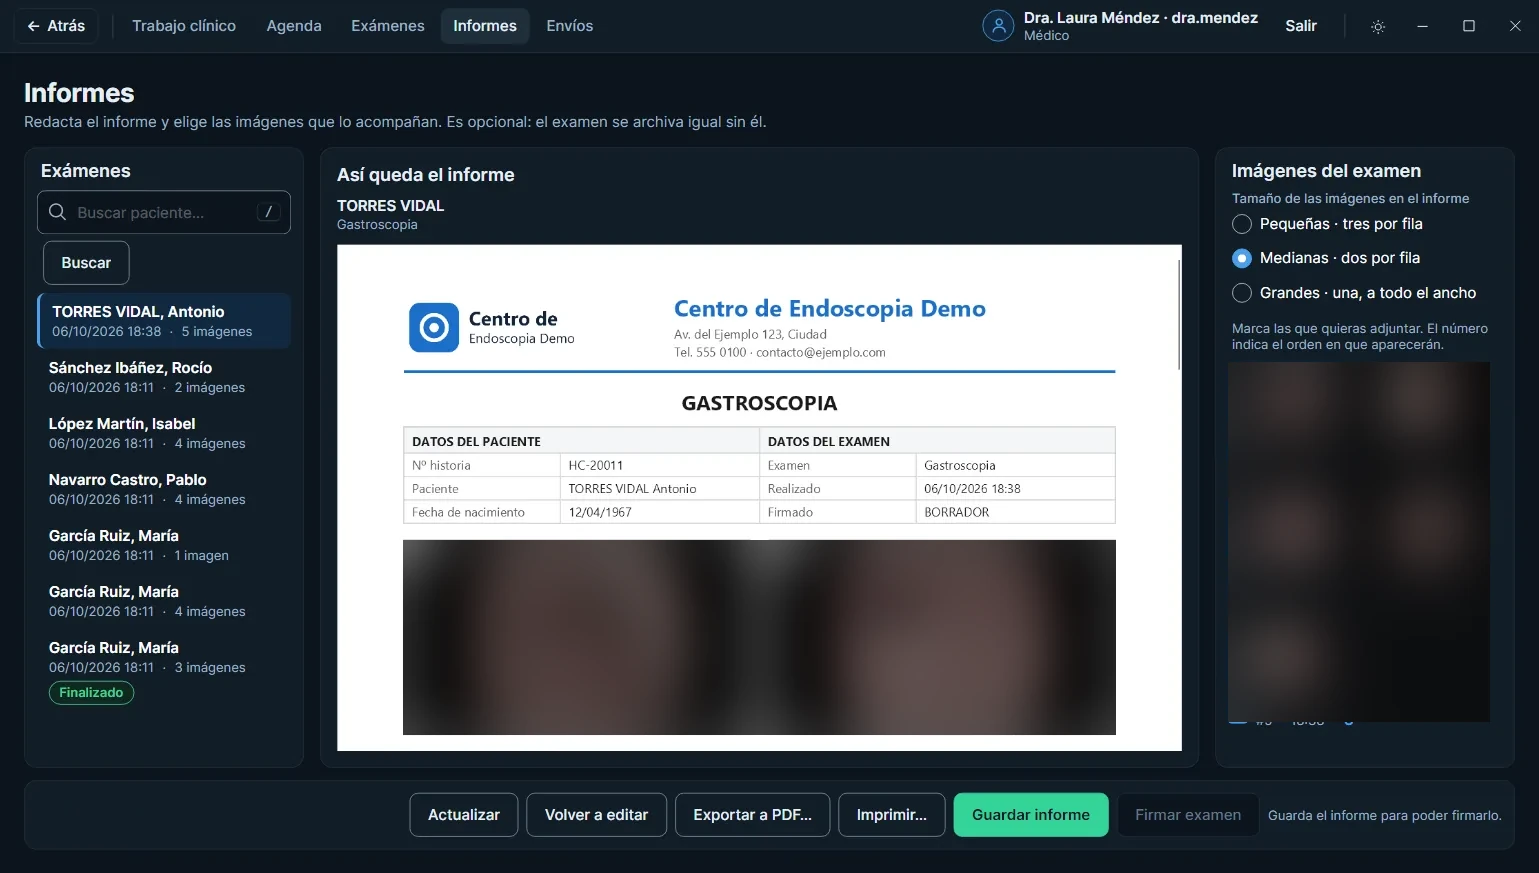
Sign
Only what is already saved can be signed, and only once the exam is finished. The program asks before signing, and after that it cannot be changed.
DetailThe physician’s scanned signature appears on the report letterhead.
Demonstration data
- 08
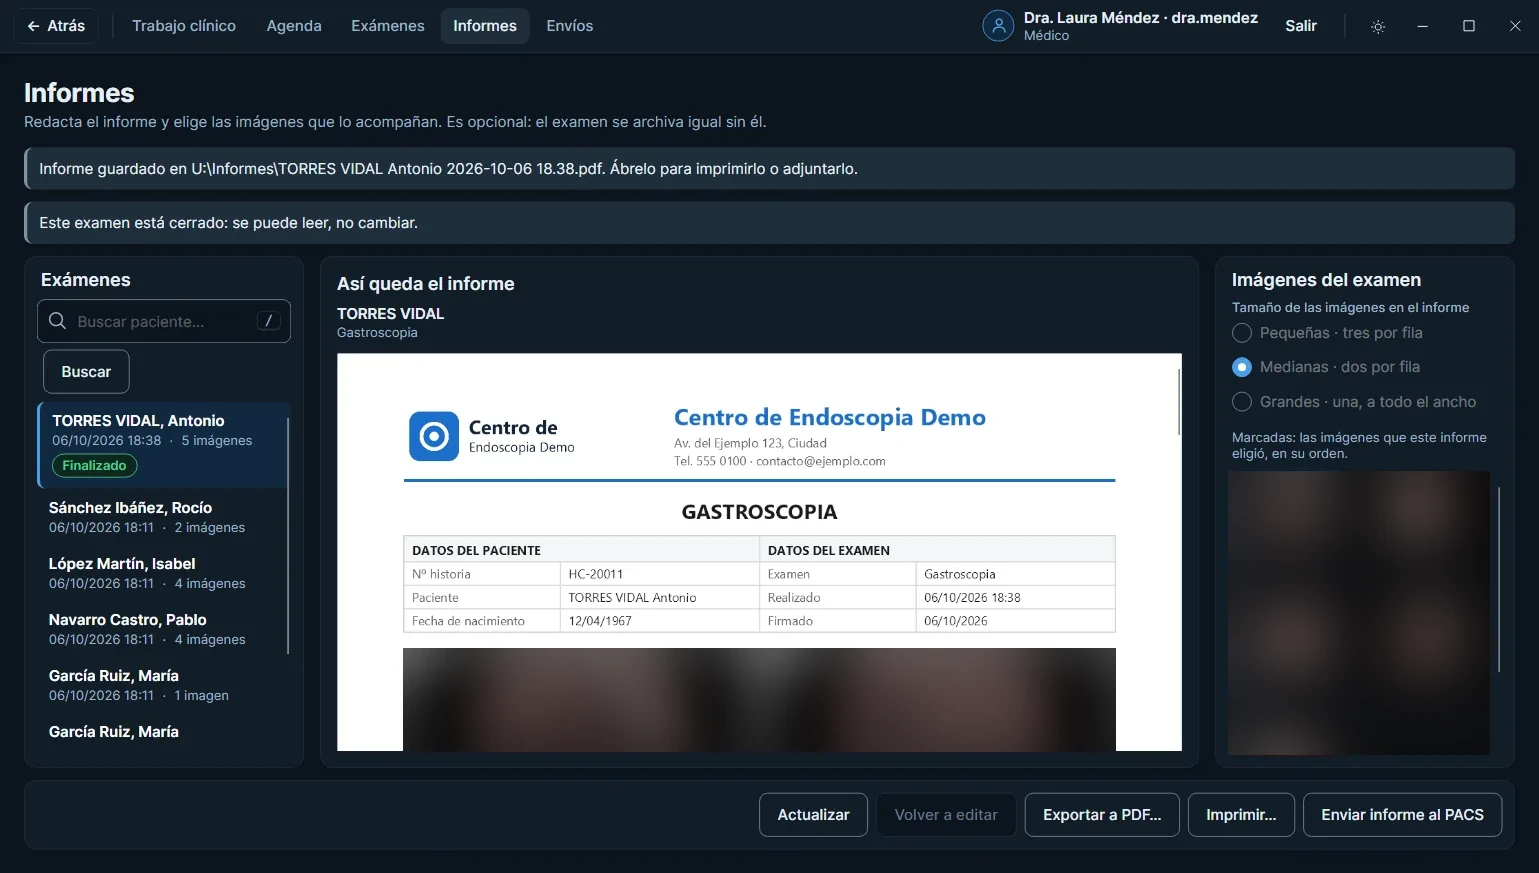
Deliver and check
The report goes out as a PDF, printed directly or sent to the PACS. The Deliveries screen says whether it arrived and lets you retry the one that did not.
DetailIf a delivery did not arrive, you can retry it from Deliveries.
Demonstration data
Scroll to move from one step to the next.
In the room, from the tower to the report.
EndoCapture does not replace the endoscopy tower. A mini PC next to it takes the video from the processor, joins it with what the hospital already knows about the patient and delivers the study and the report.
- 01
Endoscopy tower
The endoscope, video processor, light source and monitor are the ones already in the room. EndoCapture does not replace them: it takes the image coming out of the processor.
- 02
Schedule and orders
Worklist (MWL), procedure tracking (MPPS) and orders through HL7 v2 and FHIR R4, with no retyping of patient data.
- 03
Mini PC running EndoCapture
It can be a mini PC next to the tower, between the video processor and the hospital network. It receives the video, files the exam by patient and writes the report.
- 04
PACS
DICOM sending of the whole exam or the selection, storage confirmation and lookup of prior studies.
- 05
Report
Signed in the same program, it goes out as a PDF, printed directly or to the PACS with the study, and also through HL7 v2 and FHIR R4.
Care on the inside.
A clinical exam leaves patient data behind. The program logs every action and lets each person do only what their profile allows.
It also exports to CD or USB with DICOMDIR, and installs with a Windows MSI installer.
- 01
Audit log
Each action is written to a chained log that can be viewed from within the program. The check helps detect whether anyone tampered with or emptied entries.
- 02
Permissions by profile
Who registers, edits, signs or deletes is set per profile. A refusal is logged too.
- 03
Backup
Automatic backup and restore from within the program. For teaching, anonymous export of an exam.
- 04
Error log for IT
A log written for whoever gives support: what failed, when and on which workstation.
Image credits
The screens show demonstration data: names, dates and records are made up. The endoscopic photographs come from Wikimedia Commons, cropped to remove the processor overlays.
- Cecum and transverse colon: Joachim Guntau, CC BY-SA 3.0
- Duodenum: Someguy1221, public domain
- Stomach: Ignis, CC BY-SA 3.0
- Rectum and splenic flexure: melvil, CC BY-SA 4.0
Let’s see EndoCapture at your institution.
Tell us how you run your exams today and we will show you how it would work with your camera, your PACS and your schedule.
Request a demo